Saturday, October 26, 2013

Beer Cake

Have a man in your life that is hard to shop for? Here is an idea of a SUPER EASY present that you can make for birthdays, christmas, baby showers, any special occasion really. A BEER CAKE! Most men like beer and cake so they get the best of both. You can do as many layers of "cake" as you want, I've always just done three. You'll need: Ribbons, Round Cardboard (I used pizza discs,) tape, and beverages of your choice. Just a heads up if you plan on taking this beer cake with you anywhere it WILL fall apart! I have tried to figure out a way to get all the beer to sit on the cardboard in transit but it doesn't work. If I figure it out I'll let you know! So I recommend setting this up in the place it needs to be in. Start with the biggest pizza disc on the bottom and start to add your beverages, enough to cover the disc without going over the edges. Then add a smaller disc on top and add your beverages, finally add the smallest disc and add your beverages. Then just cut your ribbon to desired length and tie it around each individual tier. Ta-Da! You are done! Here are some examples of the beer cakes I have made.
 Birthday Miller Light Beer Cake

Baby Shower Alcohol Cake

As you can tell the Baby Shower Cake I made is a little more complex than the Miller Light Cake. Instead of all cans I used beer bottles on the second layer and mini liquor bottles on the top. I also added "It's a Girl" cigars on dowels and stuck them to the cardboard. I then added a big bow to the top and some curly ribbons all around. (This is the one I took with me and it fell apart in the car and we didn't really get it set up the same when we got the event place. So once again be careful if you decide to make this and take it somewhere.) That is all for now!

Thursday, October 24, 2013

New House Tour

Buying a house was a HUGE step for me, I knew what I was getting myself into financially but I don't think I realized what I was getting myself into designer-wise. When I bought my house all the walls were blah! They were all the same color (except for my guest room which was the previous owners kids' room) and that color was a tan which is BLAH! So I painted EVERYTHING (but you will have to wait and see what that looks like another time!) I have sooooo many projects to do with this house, every time I finish one it is like a new one is right there! But right now I will show you what I like to call my Blank Canvas, which is the bare walls of my new house. Stay tuned to see what I've changed, added, designed, and made more personal!
 Spare Room
 Living Room & Dining Room
 Living Room
 Kitchen
 Office
 Office Again
Master Bedroom
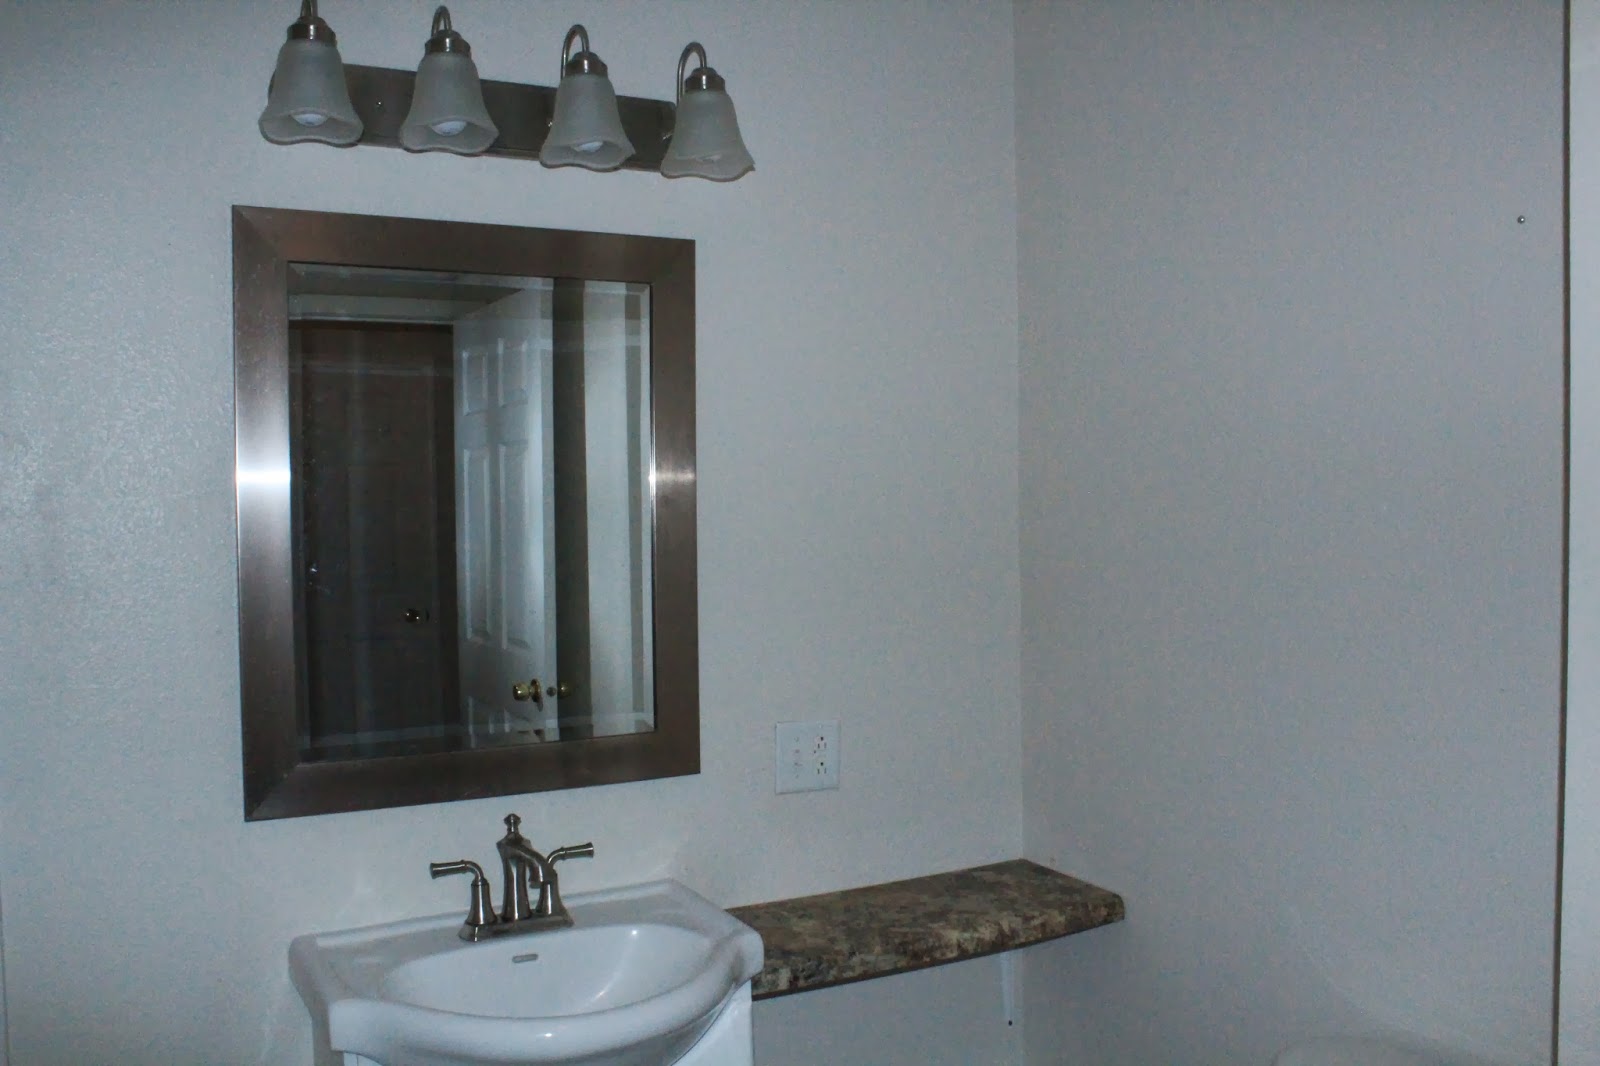
Bathroom
Laundry Room

Sunday, September 29, 2013

DIY Behind-the-Sofa Table

So I bought a sectional, yeah that was a big purchase and took forever for me to find the perfect one. I had it delivered and realized wow that sectional is huge!! I pretty much had no more room for any type of end table or coffee table or anything. After procrastinating on Pinterest I came across the idea of a behind-the-sofa table, I however could not find any blueprints or tutorials of how to make it. It can't be that hard I thought to myself so I measured out the couch and how tall I wanted the table to be and headed off to Menards. I bought a 2x10x12 because the length I needed was 11.5in. Then I bought a 2x10x8 for the table legs, I cut it into 3 pieces that are 31in. I bought wood screws and L brackets to keep the legs attached to the table top. It is super easy to attach the legs onto the table top, make sure you have two people though because someone needs to hold the legs and someone needs to run the drill. Unfortunately I forgot to take any picture before all this......onwards and upwards though, staining the table. That was so dang easy and some what messy but easy!!!! I used minnwax ebony stain because I wanted a darker table. I brushed the stain on and waited about 15 minutes then I used a clean cloth and wiped excess stain off. Now it's sitting outside drying.

Before the staining 

Another before. 

The stain drying. 


 Up close of the stain. Love the look of this!!


This table is going to look awesome in my living room! I haven't decided yet on two coats or just one. So stay tuned!


Tuesday, September 17, 2013

Carriage Fit For A Princess

My niece recently celebrated her First Birthday!!!! I knew I wanted to get her or make her something totally awesome that I know she would use and love. I found a little tikes cozy coupe for like $10 on an exchange site and I instantly bought it! I wasn't sure what I was going to do with it exactly but I knew it had possibilities.

Here is the cozy coupe before!

 After getting it home and really looking at it I decided it looks a lot like Cinderella's Carriage, with that in mind I got to work drawing out some sketches. I then went out and bought spray paint, I decided on Rustoleum Light Blue, Dark Blue, and a Metallic Gold.

The car and paint colors.

Okay so after a TON of research on spray painting Little Tikes items and a some what failure before I decided to "prime" it with Krylon spray paint! The Krylon was just plain white, I followed the instructions to the T. I painted it one night and then repeated the process the next night, I used TWO cans of the Krylon paint. Now here's the sucky part, I waited 7 days, yes 7 days, until I started to spray paint again. Krylon recommends 7 days of drying until its supposed to be tough and hard to chip.


After the "primer"

So after a full week of the waiting game I started the blue :)  I used TWO cans of this blue and once again followed instructions. I painted one coat of blue then after about 20 mins I painted another coat. I originally was going to paint the inside chair part dark blue but I was on a time crunch and decided to just paint it the light blue.


The Blue Coat Drying

Ok so now things get tricky! I was going to spray paint the door edges gold and add something to the license plate area but I knew that would be difficult so I bought gold paint and hand painted those parts.


Hand Painted Gold Accents

So after that was all done I decided it was too much blue!!! It was then I decided to tape off and cover up any parts of the car that I didnt want gold. I then proceeded to paint the top gold.

Getting The Gold Coat

So after that dried I clear coated the whole car a few times. Once again following instructions, I did small coats a few minutes apart. And here is the finished product:


I even spray painted the gas tank black and added two small circles above it to make it look like Mickey Mouse ears! I also added an old english style C to the main door. (All of this done before the clear coating.) My niece loves this car! I literally pushed her around in it for at least a hour the day I gave it to her and since then she's gotten a lot of use out of it. I won't lie to you though it does chip :(  Nothing too terrible but parts of the inner door have chipped off due to the door rubbing against it and anytime my niece bumps into things a little too hard it starts to slightly chip. I expected all of that though and honestly she doesn't notice it and loves it so it works :)


Wednesday, August 28, 2013

Painting in Progress

So I was pinning away on pintrest one day looking at home decor ideas for the new place. I came across a 3 pack painting with gray, white, yellow, and black (the colors of my living room) I fell in love with it. I however did not fall in love with the price tag $150!!! Serious?!? I knew I could create something just as good myself and a lot cheaper, too! I decided though that instead of the yellow I would paint it green because it actually has ended up in my dining room (my dining room color scheme is green, gray, white, and black.) Well I sat down today to start painting, not thinking I would complete it all in one night. 
I had my Jimmy Johns and Mulan on the tv, ready to be creative. 

Supplies I bought were 3 canvases, 12x24 inches which were like $12 each at hobby lobby, I did have a coupon for 40% on one item though so I did save a few dollars :) I already had the paint and paint brushes so all I really spent was about $30. Hmmmm $150 or $30, think I made a good choice!! =] I was smart and laid down a plastic sheet so I wouldn't make a mess yet somehow I still ended up having paint all over myself. For the circles on the painting I got creative, using anything I could find around the house that was circular which included: red solo cup, spray paint lid, little paint bottle lid, tupperware lid, and even a tealight candle!!

Getting closer to done!

All in all I think my painting turned out great and I'm ready for my next home decor project. Once the paint dries I will decide on a wall for it.  =] let me know what you think.
Ta-Da!!! =]

Monday, August 26, 2013

Little Tikes Make-Overs

I am a huge fun of taking something old and out-dated and turning it into something new and fresh, so when I came across a few Little Tikes items I knew I couldn't pass that up! I have two nephews and two nieces, one of my nephews has been nicknamed Batman so I knew when I saw a Little Tikes table and chairs set I had to make it a Batman set! I spent $10 on the set and maybe $20 at most on spray paint to make this table go from old to new in about a weeks time. Here are some before pics:

These started out plain blue, was going to keep them this color and add the red comic book POW/BAM but decided to go black instead as you will see.
Here is the table. I was going to leave this yellow but decided black would be awesome!

So I did all the hard work for you because I tried all the "easy" ways to do this and ended up failing, fantastically! I started to attempt to spray paint red onto the blue chairs and ended up getting red on more than just the templated spot. I wasn't sure how to fix this so my only solution was PAINT OVER IT! So I bought some black spray paint and went to work. I bought Rustoleum paint in black matte, I used the Matte finish because I thought that really is Batman-like. So after three coats of the chair they were perfect! Yes I used three coats, mainly because I wanted to make sure it covered! Then it was onto the table, I started with a coat of the black.

All the black drying!

I then cut out a Batman Logo into a piece of cardboard and taped it down to the table and started with the spray painting of the black. After two coats I removed the template and low and behold I had some black that ran into the parts that were supposed to be yellow. 

Here is how I first taped off the logo. I then put the cardboard template over this to block the paint from getting into the black.


This is the yellow drying.

No worries though because then I took the outline template of the Batman Logo taped that down and covered the legs of the chair and started to spray paint that part yellow. Now here is where I realized spray paint sucks when it comes to not running. After peeling off the template I found that parts of my yellow got into the black so back again we went to the black spray paint and once again black got into the yellow. Fed up with it all I took some painter pens/makers and touched up the black and yellow with those. That worked perfect! 

As you can see the yellow bled into the black :(

Here it is all touched up with paint pens!

Then onto the chairs, I templated out the POW and BANG just like I wanted and spray painted the background Red. I then took paint pens and wrote in the POW and BANG and I must say it looks amazing! I then sealed the table and chairs with a Clear Matte Sealer. I only did two coats and I'm kicking myself now for that because the paint does seem to chip. The tables and chairs still however look amazing! Here are the finished products:

These turned out GREAT!!!

The table and chairs Finished Product! My nephew Batman LOVED them!

Next time I try this (which is this week) I plan on using Krylon for Plastics Spray Paint as a base coat then use Rustoleum Spray Paint. I have heard lots of great things about Krylon being able to stick to the plastic Little Tikes uses! Unfortunately though they just don't have that wide of a paint selection so I'm using Rustoleum after that. I will be back with another blog on how that process went though just as soon as I start it. If everything works the way I plan this is going to be one AWESOME project!

Saturday, August 24, 2013

Day One

Well here it goes, day one of my new blog. I've been talking about writing a blog for a long time now and finally have gotten around to it. This blog, my blog, will be a mix of a lot of things, so be prepared for awesome, random, creative, dog lover, and exciting things. 

I should probably introduce myself, my name is Josie Lynn and I'm 23 years old living in a house that I have recently purchased. I will be posting a lot about my new house and the improvements I have done and will continue to do. I am very much a DIY-er and I love being creative and of course I will share it with you! I have two adorable dogs, Cooper who is an American Eskimo and Brianna Urlacher who is a Great Dane. You will be seeing plenty of them on here especially as Bri grows (she's currently 4 months old!) 

 Cooper
Brianna Urlacher

Stay tuned for more things from my life......