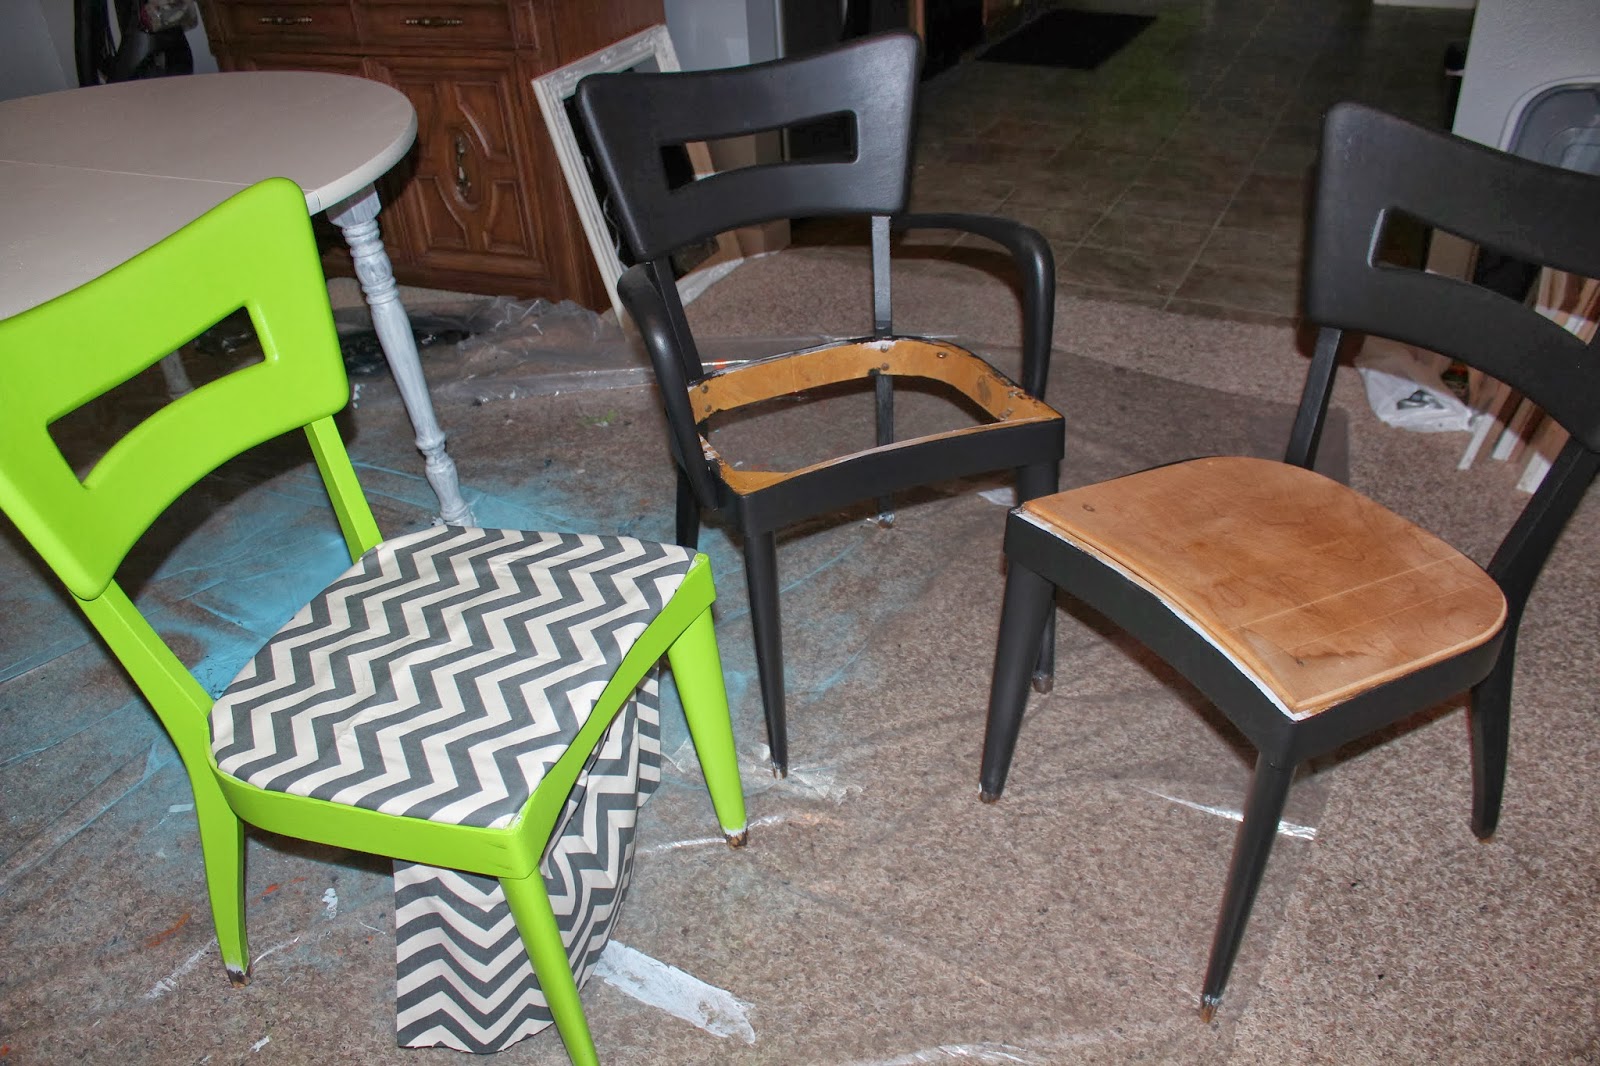
Chairs after paint but before upholstering
Awesome, I know!! My color scheme for my Dining Room (along with my Kitchen) is Green, Black, White, and Grey, I painted my dining room table white and my chairs black and green, my walls are grey so it all ties together!
So let's get started! First step is to take off the seats of the chair and dispose of the fabric and cushion (I already did that before I painted them.) Then lay out one of the seats onto cardboard or anything handy really (I used a heavier paper that I had laying around) and trace around the seat (add an extra 1/4th inch on each side) after that cut out the template of your seat. Use this template for all your foam cushions, trace it and cut the foam to size.

This is how to make your template


Here are all FOUR of my cushions waiting to be cut out.
So cut out all your cushions and gather all your seats because now we use spray adhesive to make the foam stick to the seats. I used Loctite and I'd say it worked great but you can use any brand you'd like. I followed the directions on the can though, spray the seat and then spray the foam and wait 1 minute before applying them together. After the minute I stuck them together and honestly, I jumped on them to make sure they stuck! I also did all the spraying on a plastic sheet that way my floor wouldn't get sticky (my socks unfortunately got sticky,) I already had the plastic sheet down because I am painting my dining room table.

Foam, Spray Adhesive, and Seat.
After that process I measured out each cushion to see how much fabric I would need, I measured across the top and added two inches because of the thickness of the foam. After that I added 3 inches to each measurement I got and cut the fabric. My measurements were 18x18.5 plus two inches for the foam part so it was 20x20.5 I then added 3 inches for 23x23.5. Looking back I wish I had added one more inch just so I wouldn't freak out that I didn't have enough fabric (which I had enough but it was close.) Now here is the super easy part STAPLES!!! Lay the fabric down and then the seat on top of it and pull the fabric over, tight but not too tight and then staple, staple each side once first then from there staple one side then the opposite side then one side and then the opposite side.


Then you get to the corners, trickiest part let me tell you. Cut off most of the excess fabric from the edge leaving just enough to staple to the chair. Corners are really up to you how you want to do them just remember the method used so you can get the same corners on all your chairs. After that just screw the seat back to the chairs and you are DONE! Now pat yourself on the back like I did! Hopefully you now realize how SIMPLE this really is, I'm not sure why I procrastinated as much as I did with this, I really dreaded this project and now I think it was one of the easiest crafty/home-maker things I've done so far! Good luck with your chairs and hopefully this helped you!


I know it looks like ripples in my fabric but once I ran my hand over it the ripples disappeared!I know it looks like ripples in my fabric but once I ran my hand over it the ripples disappeared!

No comments:
Post a Comment